Friday, February 21, 2014

Honey Whole Wheat Bread


                                              Honey Whole Wheat Bread

My family loves bread. I mean LOVES bread.
Over the past few years as we journey towards a healthier more frugal lifestyle, this bread has been adapted and changed many times. Here are the healthy, delicious results of our hard work. Enjoy!

This recipe makes 4 loaves.


First, recruit some helpers. Or remove distractions. Whichever suits you. It depends on what kind of mood your in :)


Place water, honey, coconut oil and yeast in a double broiler. If you don't have one you can improvise, like I did here. See?  Just make sure that you put a dishcloth or towel in the bottom of the pot This will keep it from breaking the glass. Warm on medium/low heat.


While that is warming, grind your wheat.


and grease your pans. I use coconut oil. This is Emily's brilliant idea to use the basting brush. It works great and keeps my hands clean!


Now measure 12 cups of flour & put it in your mixing bowl

This is what your water, honey, oil & yeast mixture will look like when it's ready.

Now add your salt.
 pour this mixture over the flour

Put on the lid. Trust me, this is important. Don't ask me how I know.
Mix on low until it is nice and soft and the dough pulls away from the bowl.

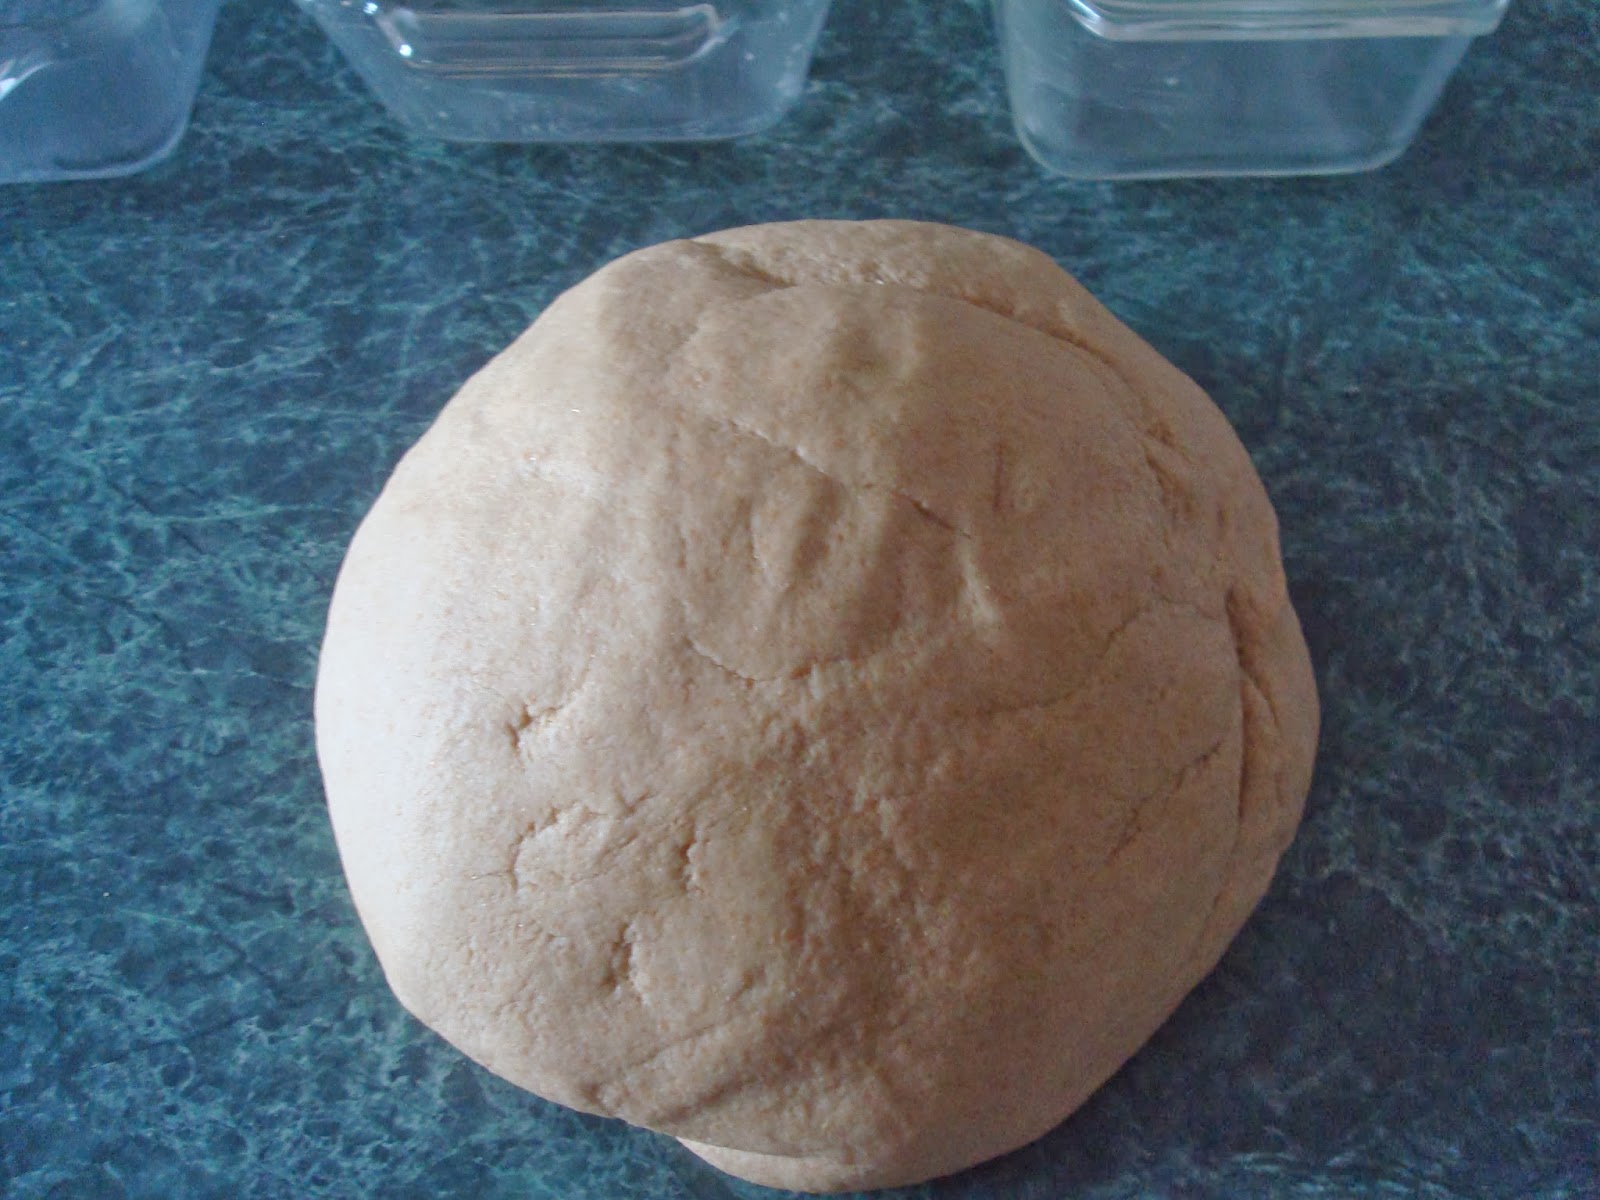
If you don't have a mixer, you can knead it on the countertop until it forms a nice dough ball

Now roll it out into a big snake

cut into four equal sections

place into your greased bread pans. I got a little rough with the one on the left( oops). It should be okay, though.

Preheat your oven to 350 degrees Fahrenheit. Place your bread pans on the oven while it heats up. Put a towel over it and let it rise.

When it has doubled in size it's ready to bake.
Bake for 30 minutes. Your bread should look nice & golden brown. Your house will smell so good right about now. You know it's done if you tap on it and it sounds "hollow"
Let it cool for a few minutes and remove from the pan. Try to keep your teenagers hands away while you find a knife.
Technically, you should wait until it cools before you slice it. But, we can't resist fresh bread straight from the oven. See the steam rolling off of it. You can almost smell it. Mmmmmmmm


Honey Whole Wheat Bread

4 c. water
1/3 c. honey
1/2 c. coconut oil
3 Tbs. active dry yeast
3 tsp. sea salt
12 c. freshly ground Hard White Wheat flour


Place water, honey, coconut oil and yeast in a double broiler. Warm on medium/low heat. Put your flour in a large mixing bowl. Remove the water, honey, oil & yeast mixture from heat when yeast is foamy and coconut oil is melted.Now, add the salt. Knead all ingredients together until it forms a nice dough ball. Divide into four equal sections and place into bread pans. Let it rise until doubled in size. Bake at 350 degrees Fahrenheit for 30 minutes or until loaves sound "hollow" when tapped. Cool slightly and remove from pans. Try to wait until the bread cools before slicing. It will be easier to slice that way. Enjoy!


This is a wonderful versatile bread recipe. It is perfect for sandwiches!

Thursday, February 13, 2014

Minimalist Tip #1

Scanning my life away...

Minimalist Tip #1

Scan your old photos.


I have boxes upon boxes of old photos, dating back to the 1960's. They were given to me by my mother.
I absolutely love going through them and seeing everyone as they grow and change through the years.
But, what do I with them all after I look through them?
Enter modern technology.
I simply scan each of them (my favorites anyway) and them give the originals away to others that may enjoy them. I have given many of them away already and trust me, people love seeing themselves in pictures that are 20 years old.
I have also discovered many, many duplicates.
Those are simply thrown away.
Yes, it is hard to toss those adorable 1st birthday pictures of my children. But, really, do I need 20 of the same one? I admit, I do keep an original of my favorites. But the rest must go. If my kids want a copy when they are grown, I have it scanned right in the computer. And, just to be sure they don't disappear if my computer crashes, I have them all backed up on my portable hard drive.
In the future I plan on having some photo year books printed. But, for now they can safely sit in my computer until I'm ready for them.


Wednesday, February 12, 2014

Easy Homemade Granola

How appropriate that my first post is about FOOD. I am notorious for bringing my own homemade food wherever I go and this granola is something I almost always have with me. After many requests for the recipe, I thought it was a good idea to post it. Here you go.

Easy Homemade Granola

1/2 c. Sucanat or Rapadura (dehydrated sugar cane)
1/2 c. Coconut Oil
1/2 c. Honey
1 tsp. Cinnamon
2 tsp. Vanilla Extract
1/2 c. chopped nuts ( I like almonds & walnuts)
1/4 c. freshly milled flax seeds
1/2 c. unsweetened shredded coconut
1/4 c. chia seeds
7 c. Old fashioned rolled oats

In a large pan (I use a big commercial size steamer pan) mix all dry ingredients.

Mix Sucanat, coconut oil, and honey in a saucepan over med heat until sucanat is mostly dissolved. 
Remove from heat and add vanilla. 
Pour oil, sucanat & honey mixture over dry mix and stir well until blended.
Bake at 250 degrees and stir every 10-15 min. for about an hour or until mixture is dry & toasty.  After it cools you can add dried fruit. We like raisins or cranberries. 


This stores well in the pantry and has a long shelf life. I store it in a 2 gallon glass cookie jar and it stays fresh for months.

Now, you can eat this by itself, pour milk over it and eat it like cereal, use it as a topping for yogurt or ice cream or add some mixed nuts, sunflower and/or pumpkin seeds and dried fruit and make a yummy trail mix. There are so many possibilities! 
How ever you decide to eat this, you can feel good knowing you have made a yummy and nutritious snack for your family. Enjoy!